Compression damping: how fast the suspension compresses
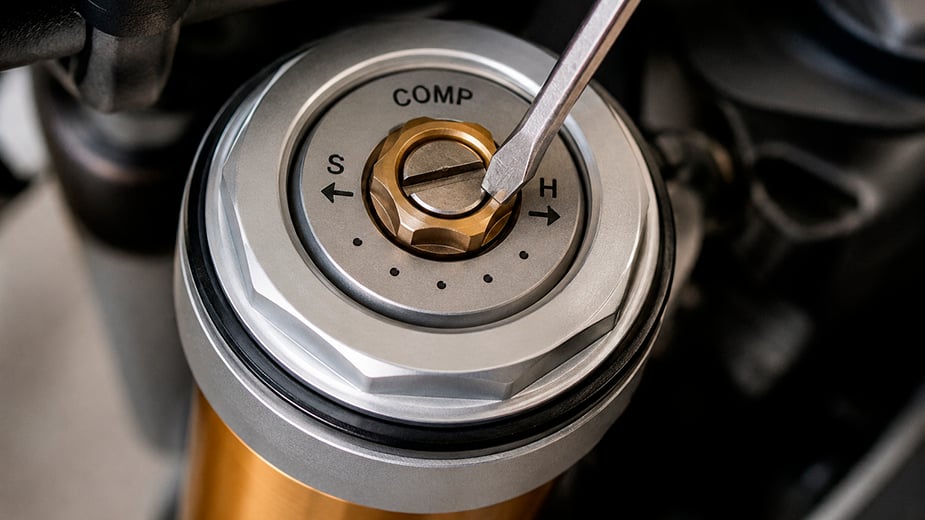
Compression damping controls how fast the suspension compresses when the wheel hits an obstacle.
So compression affects the "hardness" you feel while riding. Slower compression can feel stiff because the suspension does not move quickly enough over obstacles. Faster compression can feel softer, but if it is too fast, the suspension may use too much travel too quickly and leave you without enough reserve.
If compression is too soft, the suspension can dive, bottom out, or feel like the bike is falling too deep into the stroke. You may feel this on big bumps, landings, or hard braking.
If compression is too hard, the ride becomes harsh. The suspension does not have enough time to absorb repeated bumps, so the hits go into your hands and body instead. On the front fork, this can feel like the handlebars are fighting you. On the rear shock, the rear wheel can skip off obstacles instead of staying planted.
Rebound damping: how fast the suspension returns
Rebound damping controls how fast the suspension returns to its normal position after compression.
If rebound is too fast, the bike can feel springy. After a jump or hard hit, the suspension may shoot back too quickly, making the bike bounce and lose stability.
If rebound is too slow, the suspension does not return fast enough before the next bump. This is called "packing down." At first, the bike may feel fine, but after several bumps in a row, the suspension starts riding lower in its travel and can begin to bottom out.
For tracks with many small repeated bumps, the suspension usually needs a faster rebound so the wheel can return quickly and keep contact with the ground.
For faster flowing tracks with jumps and big landings, a slightly slower rebound can help the bike return more smoothly and stay controlled after impact.
☑️ Note: the same logic works for the rear suspension, but there is one important rule. The rear suspension should not rebound faster than the front. This is an important rule in rear shock adjustment enduro riders should remember: if the rear kicks back faster than the fork, the bike can become unstable.
How to set the base damping
The base damping settings are stated in the owner's manual. Most bikes have recommended clicker settings for compression and rebound: for example, 10, 15, or 18 clicks from a fully closed position.
To set the baseline, gently turn the adjuster clockwise until it stops. Do not force it. Then count the clicks back out counterclockwise according to the manual.
Do this for front and rear compression and rebound. Write every setting down before you ride. This is the easiest way to return to the starting point if a change makes the bike feel worse.
Rear shock specifics
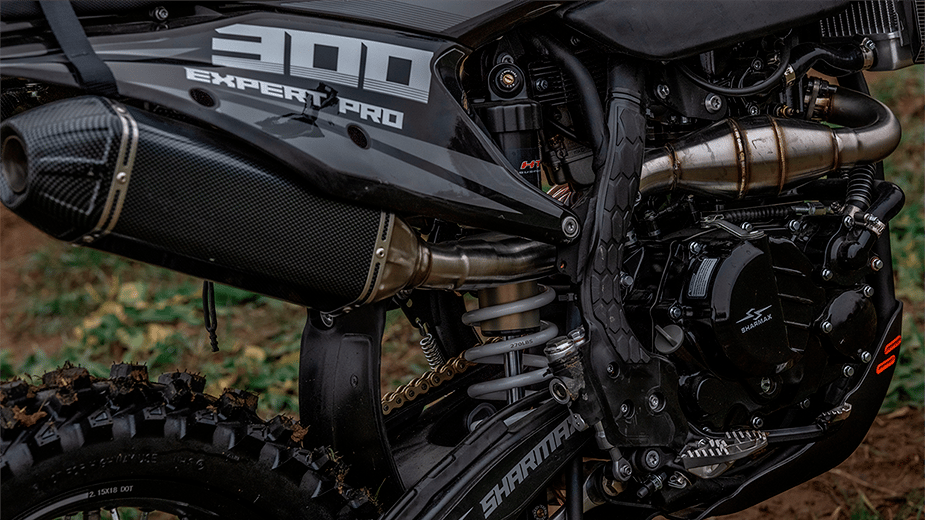
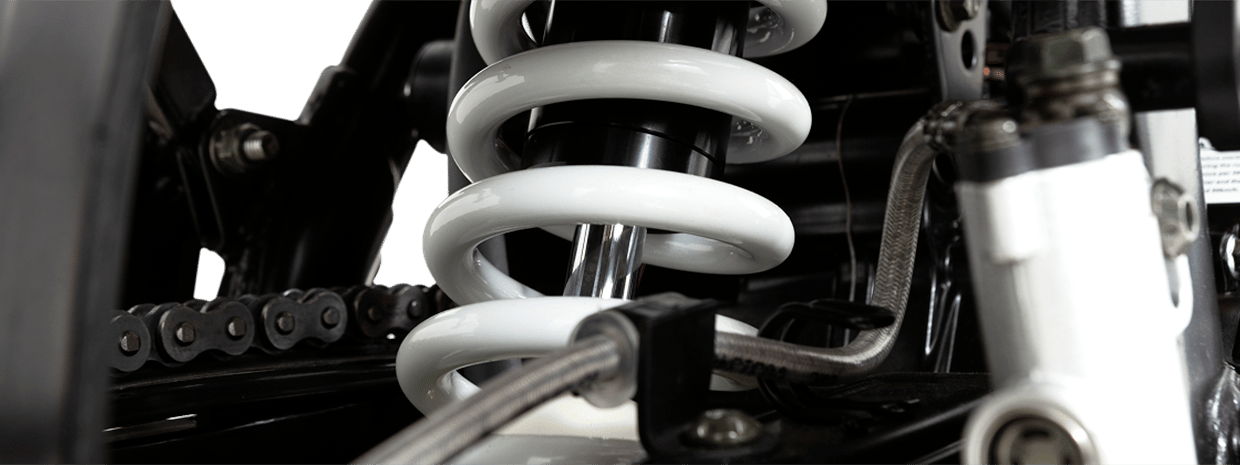
The rear shock works on the same basic principle as the fork, but it can feel different because of the linkage system and the way the rear wheel moves under load.
Some modern rear shocks also have separate high-speed and low-speed compression adjustment.
High-speed compression works with sharp impacts: rocks, roots, jumps, and sudden hits.
Low-speed compression works with slower bike movement: squat under acceleration, body roll, braking load, and smooth terrain changes.
Step 5. Final tuning and testing
Now let's bring everything together. At this point in the enduro suspension setup guide, you already know what sag, preload, compression, and rebound do. The final step is to test the bike and adjust the setup to your real terrain.
For rough tracks with roots, rocks, and many small hits, the suspension usually needs to work faster. Faster rebound helps the wheel return quickly and keep contact with the ground. Compression also needs to be controlled enough so the bike does not dive or bottom out. But don't make the setup too fast, or the bike can start bouncing and losing stability.
For faster flowing tracks with bigger landings and longer suspension movement, the setup can be slightly slower. After a hard compression, the suspension needs time to return smoothly and control the spring, instead of shooting the bike back up.
The most important rule is simple: adjust only one setting at a time.
- Don't turn everything at once.
- Don't go from fully closed to fully open just to "see what happens."
- From your standard setting, try a bigger change first — around 5–8 clicks — to feel the difference.
- Ride the same section and understand whether you moved in the right direction.
- Return closer to the base setting, then make smaller changes: 1, 2, or 3 clicks.
- Write down every change so you can always go back.
Only after you understand one setting should you move to another. Don't adjust compression and rebound at the same time, because you won't know which change created the result.
Clear testing is the main rule of enduro motorbike performance tuning: one adjustment, one test ride, one clear note. And remember: all of this works only if the suspension is serviced and mechanically healthy.
In general, suspension setup is not as complicated as it looks. You also won't "ruin" the bike by trying. You can always return to the base settings from the manual and start again. But once you begin adjusting the suspension for your own weight, the result comes quickly.